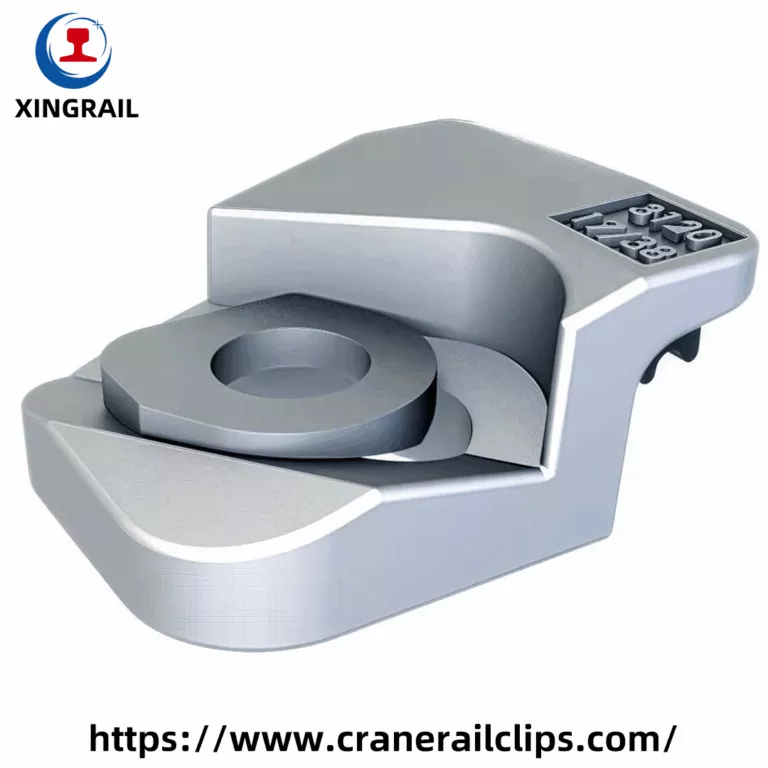
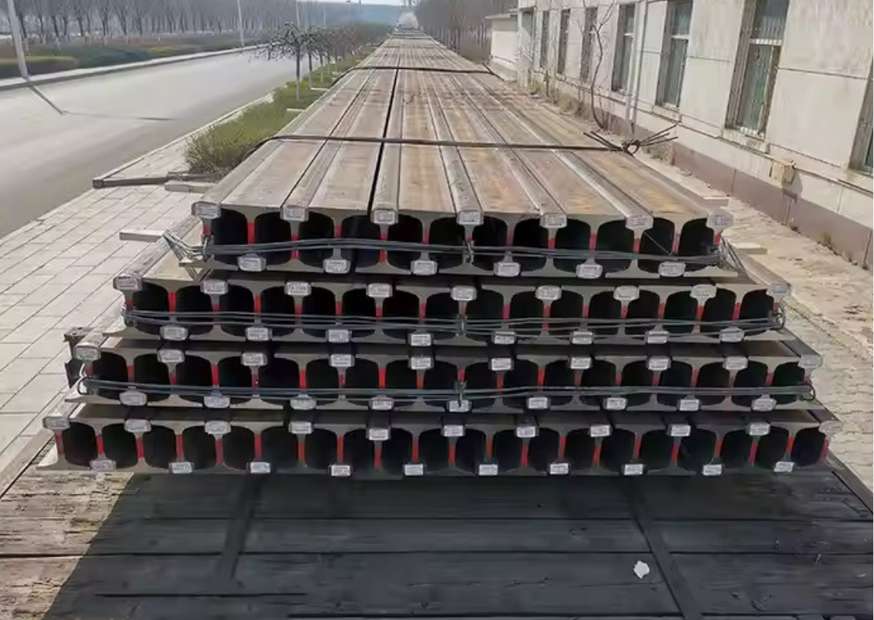
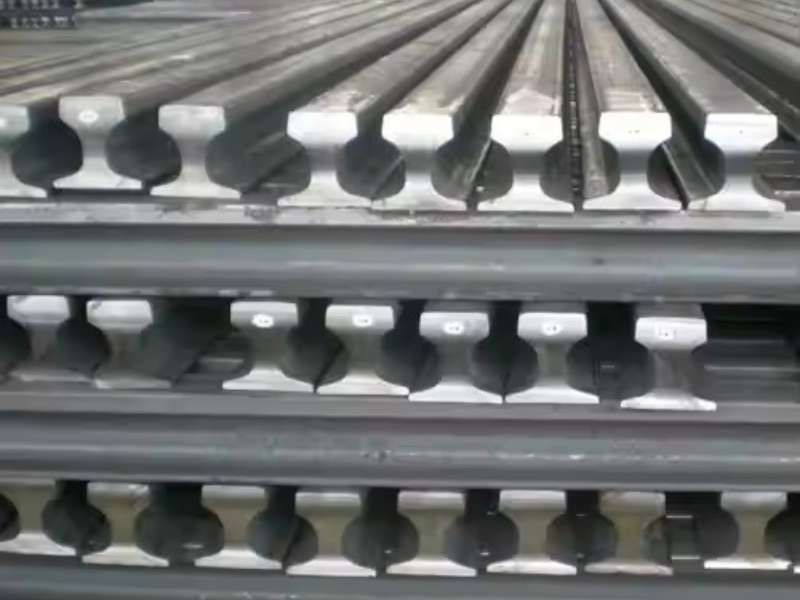
A rail clip has one job. It keeps the rail sitting where the engineer put it, under load, day after day. Get the installation right and the rail stays true for years. Get it wrong and you see gauge drift, loose bolts, cracked welds, and wheel flanges chewing at the rail head within months.
This guide walks through both methods used on crane and gantry runways: bolted rail clips installation and welded rail clips installation. The sequence, the numbers, and the checks are all covered.
What rail clips installation actually involves
Fixing a rail is not just holding it down. A properly installed clip does four things at once.
The clip resists uplift whenever the wheel passes and the rail tries to lift behind it. Furthermore, this mechanism withstands lateral push from crane skewing as well as thermal movement. Additionally, the fastener keeps the rail centred over the beam web so that alignment remains secure. Ultimately, the design lets the rail expand and contract lengthwise while it prevents tearing the fixing apart.
That last point matters more than people expect. A 100 m runway moves roughly 30 mm between a cold winter morning and a hot summer afternoon. Clips must clamp firmly downward while still allowing that slide. This is why forged self-locking clips are used instead of rigid welded blocks on most modern runways.
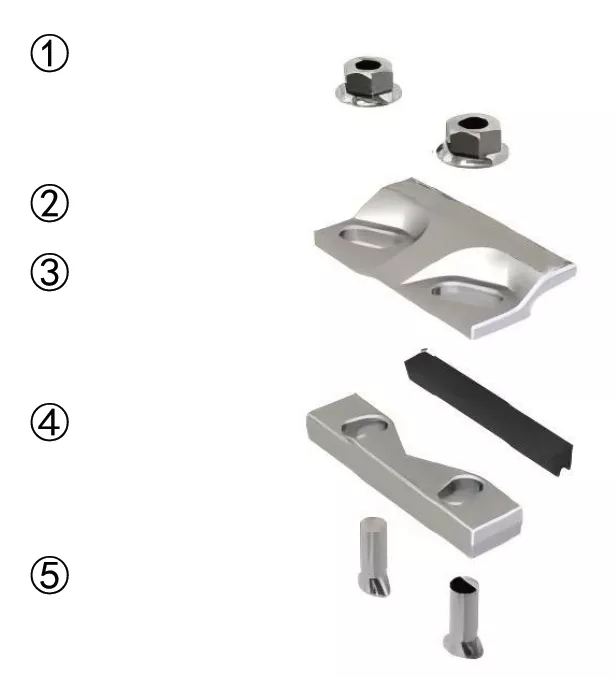
Preparation before the first clip goes down
Rushing this stage causes most of the failures we see in the field.
Check the beam surface. The top flange must be clean, dry, and flat. Grind off weld spatter, mill scale, and old paint runs. A high spot of 2 mm under a rail pad will create a hard point that pounds itself loose.
Set out the centreline. Snap a string line or use a laser along the full runway. Mark the rail centreline on the beam every 3 m. Mark clip positions from a single end, not from both ends toward the middle.
Lay the pad first. If the design calls for an elastomeric pad, roll it out before the rail. A crane rail pad spreads wheel load, cuts noise, and stops the rail foot from fretting against steel. Butt the pad sections tight. Do not overlap them.
Confirm the clip matches the rail. Clip jaw height must suit your rail foot thickness. A DIN A100 foot is not the same as a QU100 or a 115RE. Cross-check the profile against your rail weight and profile guide before ordering.
For that AREA profile, 115RE rail clip installation follows the same sequence with clip jaws matched to the head and base geometry.
Bolted rail clips installation
Bolted fixing suits beams where welding heat is unwelcome, and any runway that may need realignment later. It is also the choice when the supporting steel is already coated.
Step 1 — Drill or use pre-punched holes. Hole positions come from the clip base dimensions. Drill through the flange, do not flame cut. Deburr both faces.
Step 2 — Place the sole plate or base plate. Seat it on the pad. Confirm it sits flush.
Step 3 — Position the rail. Lower it onto the pad and slide it to the marked centreline. Leave rail joints where the design shows them, never over a clip position.
Step 4 — Fit clips loosely on both sides. Hand-tight only, all along the run. This lets you adjust before anything locks up.
Step 5 — Align, then tighten. Bring the gauge and straightness inside tolerance first. Then torque the bolts in sequence from one end. Use a calibrated torque wrench.
Step 6 — Second pass. Come back after 24 hours and re-check torque. Bedding-in always loses a few Nm.
Adjustable versions give lateral movement of ±10 mm or more at each clip, which is a real help on long runways where the beam centreline wanders. See the full range of bolted crane rail clips for jaw and base options.
Welded rail clips installation
Welded fixing gives the highest lateral capacity and the lowest profile. It is the standard choice for port cranes, steel mills, and shipyard gantries.
Step 1 — Mark clip base positions. Use the same setting-out marks. Accuracy here decides whether the clip jaw sits square on the rail foot.
Step 2 — Tack the base plates. Two small tacks per plate. Do not run full welds yet.
Step 3 — Set the rail and clamp it. Bring the rail to line and level. Use temporary clamps or wedges to hold it.
Step 4 — Check alignment again. Once you weld, correction becomes grinding work.
Step 5 — Weld the bases. Preheat the beam flange to 100–150 °C on thick sections. Use low-hydrogen electrodes such as E7018. Weld in a staggered pattern, skipping along the run rather than working continuously in one direction. This keeps heat distortion down.
Step 6 — Cool, then fit the jaws and tighten. Never weld with the jaw bolt already torqued.
Step 7 — Clean and coat. Chip slag, wire brush, and paint the weld.
Keep the arc away from the rail itself. Welding onto rail steel creates hard, brittle zones that crack under wheel load. Full profile details are on the welded crane rail clips page.
Related: continuous rail mounting systems using a full-length sole plate and epoxy grout bed.
Clip spacing and quantity
Standard spacing is 500 mm to 700 mm, with 600 mm being the common default. Tighten to 400–500 mm at rail joints, curves, end stops, and anywhere the crane reverses often.
Clips always go in facing pairs, one each side of the rail. So a 200 m single track at 600 mm spacing needs roughly 334 pairs, which is 668 individual clips.
Rather than working it out by hand, use the configurator below. Pick your rail category, pick the model, enter the track length, then press Calculate & Find Clips.
It returns matching fastening options plus an estimated quantity based on 0.6 m spacing in pairs. The standalone tool lives here: Smart Rail Clip Configurator.
Numbers worth writing on the method statement
|
Item |
Typical value |
|
Clip spacing, straight run |
500–700 mm |
|
Clip spacing, joints and curves |
400–500 mm |
|
Gauge tolerance |
±3 mm |
|
Rail straightness |
1 mm over any 2 m |
|
Level difference across the span |
10 mm max |
|
Rail joint gap |
4–6 mm at 20 °C |
|
M20 bolt torque |
around 250 Nm |
|
M24 bolt torque |
around 450 Nm |
|
Fillet weld leg, clip base |
6–8 mm |
Always defer to the project drawing and the clip supplier’s data sheet. The figures above are field reference points, not a substitute for the design.
You may also find crane rails specifications and types of rail clamps for cranes helpful.
Mistakes that cost money later
Full torque before alignment. The rail ends up locked in the wrong place, and every clip has to come off again.
Clips over a rail joint. The joint needs room to move. Straddle it, do not clamp it.
Skipping the pad. Steel on steel wears fast. The rail foot polishes a groove into the beam flange.
Mixed clip types on one run. Different stiffness means uneven load sharing. Pick one system per runway.
No follow-up torque check. Bolts settle. One return visit prevents a year of loose fixings.
Welding onto the rail foot. Tempting, and always regretted.
Checks after installation
Walk the full length with a gauge bar and a straightedge. Record gauge, level, and straightness every 3 m. Confirm every clip jaw sits flat on the rail foot with no daylight underneath. Tap the bolts, spin-check a sample of 10 percent with the torque wrench, and inspect welds visually for undercut or porosity.
The same torque and toe-force checks apply to vossloh rail clip installation on sleeper-mounted tension clamps.
The same bolted and welded steps apply to ASCE 85 clip installation on 85 lb/yd industrial and crane rails.
Torque and spacing values differ by section; the 60 kg rail clips guide lists the figures for heavy 60 kg/m rail.
Then load-test. Run the crane slowly over the whole span, twice, and re-check torque afterward. Alignment tips specific to overhead runways are covered in more depth in this overhead crane rail installation guide.
When the last clip is torqued down, the runway ends still need crane rail end stops to absorb the crane’s impact energy at the limits of travel.
Quick answers
1. How far apart do rail clips go?
600 mm is standard, tightening to 400–500 mm at joints and curves.
2. Bolted or welded, which is better?
Bolted for adjustability and coated steelwork. Welded for maximum lateral strength on heavy port and mill cranes.
3. Can one person install clips?
Setting out and bolting, yes. Rail handling and welding need a crew.
4. Do clips need re-torquing?
Yes. After 24 hours, again after the first month, then every six months.
Deep-Dive Technical Notes
Bolted vs Welded Rail Clips — How to Pick the Right Fastening Method
Costs Buyers Often Miss
Comparing unit prices alone gives the wrong answer. A welded clip is usually 20 to 40 percent cheaper as a part, because there is no bolt, nut or washer. But installation cost tells a different story. Drilling is the big line item for bolted systems. Budget for a magnetic drill, cutters, and the labour to set up at every position. On concrete, budget for anchor bolts and grout. Welding costs sit in labour and inspection. You need certified welders, a welding procedure, consumables, and often visual or dye-penetrant checks. If a welder is not already on site, mobilisation adds cost. Over a full service life, the picture shifts again. A bolted runway needs torque inspection, perhaps yearly. A welded runway needs almost nothing until the rail wears out. But when that rail is replaced, the welded clips must be cut off and new ones fitted, while bolted clips are simply reused.
The Largest Gantry Crane and the Rail Clips That Hold It Down
What Actually Goes Wrong on Large Runways
Field problems on big gantry tracks repeat themselves with depressing regularity. Loose bolts come first. Anchor bolts stretch and back off under cyclic load. A torque check every six months catches this early. Rail creep comes second. Longitudinal movement shows up as gaps opening at one joint and closing at another. It means the clips are not gripping hard enough, or the pad has gone hard and lost its spring. Gauge drift comes third and costs the most. It builds slowly, so nobody notices until wheel flanges start wearing on one side. Survey the gauge annually with a laser or total station, not a tape measure. Concrete edge failure at the rail seat comes fourth, and it is nearly always a pad problem rather than a clip problem.
Storage Stacker Crane Rail Clips
Bolted clips and where they perform better
Bolted clips win in three situations. First, retrofit work. When an existing warehouse is converted to automation, there is rarely an embedded plate under the old rail. Chemical anchors plus a bolted clip give a clean solution without cutting the slab. Second, aisles that may be re-aligned later. Slotted base holes allow 10 to 20 mm of lateral adjustment. That is very useful during commissioning, when the survey team is chasing the aisle straightness figure. Third, cold stores and food warehouses, where hot work permits are hard to get and welding fumes are unwelcome. A bolted crane rail clip installs with a torque wrench and nothing else. The trade-off is maintenance. Bolted assemblies need a torque check after the first month of operation and then on a yearly schedule. Use locking nuts or a spring washer stack, never a plain nut.
Container Stacking Yards: High-Reliability Clips for Automated Stacking Cranes (ASCs)
XINGRAIL 9116/08/3
A compact solution perfect for ASC maintenance bays, transfer zones, or tracks on narrow beams. It provides robust holding power ( 55 kN ) for high-frequency, lower-load cycles. Download 9116 Technical PDF 9116 Welded Rail Fixing Clips Installation: Setup: Position the clip on the narrow girder flange. Welding: Weld the three accessible sides using a 4mm throat thickness fillet weld . Electrodes: Use AWS E7018 or E7028 . Torque: Once cooled, install the upper component and torque the bolt to 125 Nm .
A Guide To Weld On Rail Clips From Xingrail
Installation
To create a strong connection, weld on rail clips must be installed methodically. The rail baseplate or sleeper is cleaned and positioned to remove dust and debris first. Next, specialists precisely fit the rail clip with the rail and baseplate for stability and spacing. To bond the clip, they use specialized welding equipment with steady heat and pressure. After that, they check the weld for consistency and endurance to ensure the clip is secure. Arc welders, clamps, and protective gear are needed for installation. During the rail clip welding process, these things assure precision and consistency. However, installation safety is paramount. Sparks and intense heat can injure workers without safety glasses, gloves, and flame-resistant clothing. To lessen risks, keep a fire extinguisher accessible and ventilate enclosed spaces. These safety standards protect the team and operation. The installation of weld on rail clips promotes efficiency and improved rail system performance by combining the correct equipment, materials, and safety precautions.